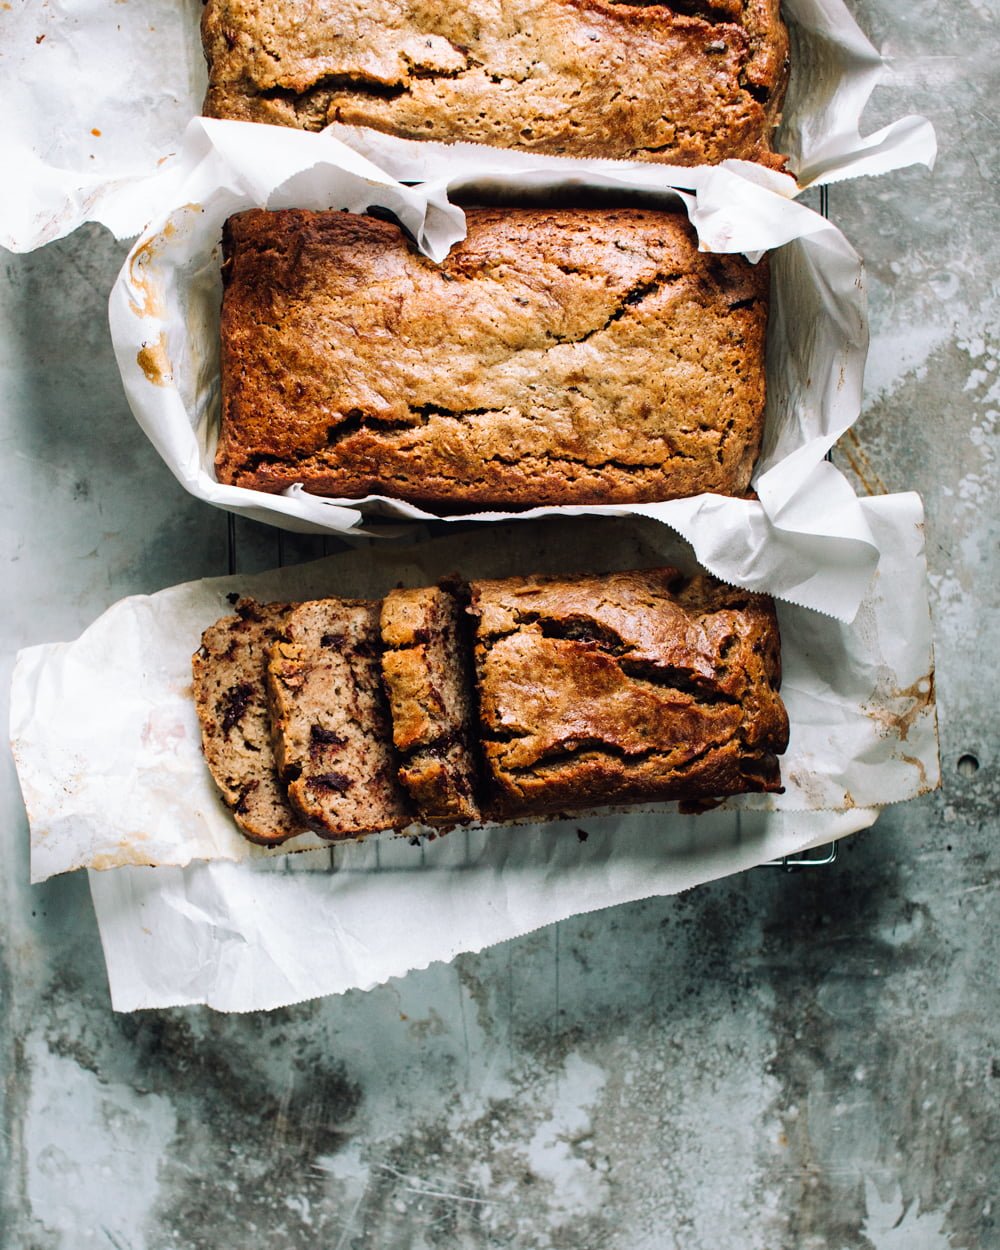
This No Knead Dutch Oven Bread recipe is so easy. Anyone who can use a wooden spoon can make gorgeous loaves of artisan bread that turn out crusty outside, tender inside and as delicious as a bakery.

This recipe makes dough for 3 loaves of Dutch Oven Bread. You can bake 1 loaf at a time and refrigerate remaining dough for up to 2 weeks.
Do the work once, then shape a piece of dough whenever you’re ready for a fresh loaf!
Dutch Oven Bread (Anyone Can Make!)
I started my career working in food science and recipe development for a flour company. I tested countless bread recipes and spent hours helping bakeries solve their baking problems.
You can believe me when I tell you I know good bread.
Most homemade bread is about technique, timing, and experience. Naturally, it comes with some bragging rights 💅🏻
Except this no-knead Dutch oven bread recipe changes everything.
Anyone who knows how to stir can make it.
It’s so easy that absolutely everyone has the ability to make gorgeous loaves of crusty, tender artisan bread like a fancy bakery.
Which is why I’ve been making it on a weekly basis for my entire adult life.

Making Dutch Oven Bread: Here’s What You Need
When you’re ready to make this Dutch Oven bread, here’s what you’ll need.

Ingredients
Here’s a list of the essential ingredients for this recipe. Each one plays a specific role in creating the final dish.
- All-purpose flour: No need for bread flour.
- Whole wheat flour: Whole wheat flour typically ferments faster than white flour because it has more nutrients. With this small quantity, the dough rises better.
It adds a touch of complexity to the flavor but it is totally undetectable and doesn’t make the bread dense or taste like “whole wheat bread”. - Yeast: I tend to use instant yeast (which comes under the names of bread machine yeast, quick-rise yeast, and pizza yeast as well – same thing).
If you use active dry yeast, proof it first by stirring it directly into the warm water and letting it stand until foamy before adding it to the flour mixture. - Kosher salt: Super important for flavor and controlling yeast activity.
Variations and Substitutions
If you want to tweak this recipe or need to make a substitution, here are some options to consider.
- No whole wheat flour? Swap it with more all-purpose flour for a lighter loaf.
- Add-ins: Toss in some chopped herbs, cheese, cinnamon and raisins, or seeds to customize your bread.
Grab These Tools
These are the tools you’ll need to whip up this recipe. Having everything ready will make the process smoother.
- Mixing bowl: Reach for the largest mixing bowl you’ve got because this is where you’ll mix up the bread AND let it rise. Expect that the dough will more than double in volume.
The rising dough will also fit well inside a stock pot, or an extra dutch oven (that you won’t need for baking it in!). - Plastic wrap: if letting the dough rise in a mixing bowl.
- Wooden spoon or sturdy silicone spatula.
- Parchment paper: Prevents sticking and makes transferring dough easy.
- Dutch oven (cast iron pot) or cast iron skillet: Provides even heat distribution for a perfect crust.
- Serrated knife or kitchen scissors: for cutting the dough and scoring the top before baking.
Doubling No Knead Dutch Oven Bread Recipes
I almost ALWAYS double this dough recipe to have homemade bread all week for my family of 5.
To give the doubled batch enough room to rise, I use an IKEA Krispig cake carrier turned upside-down to make it a bowl with a lid. The capacity is 4.5 gallons (or 17 liters).
A very large stock pot is another option to hold this volume. (I’m from the East coast, and I’d call this a lobster pot!)
The other option is to divide the dough into two normal-sized amounts to fit into mixing bowls per usual.
There’s really nothing else to consider with doubling the recipe, except making sure you have room in your fridge to keep it!
How to Make Dutch Oven Bread: An Easy Guide
Making this no knead dutch oven bread recipe is incredibly simple. Grab a bowl and a spoon and stir it all together!
Then you take the resulting gloriously yeasty, puffy pile of dough, stick it in a tub, pop it in the fridge, and saw off a hunk whenever you have a hankering for fresh, warm bread.
Nothing to it. My 4 year old can (actually) do it.
Mix the Bread Dough
To make the dough, you mix everything in a bowl. That’s it.
Start by combining all your dry ingredients (including yeast) in a large mixing bowl then pour in your warm water.
JENN’S TIP
I like to place my bowl on a scale and use the weight measurements of ingredients. That way, not only is it super accurate every time, but I don’t dirty any measuring cups.
Tap the “Metric” button inside my recipe card to view the ingredients by weight.
There’s no need for fancy techniques or kneading—just mix everything together until you have a sticky dough.
Once mixed, let the dough rise in the bowl for two hours or more. The initial rise takes two or more hours. But this rise doesn’t need to be babysat; just let it do its thing until it rises.

Store the Dough
After the initial rise, your dough will be gloriously puffy and full of yeasty goodness.
At this point, you can bake a loaf or place it in the fridge, where it can stay for up to two weeks.
JENN’S TIP
The longer the dough rests, the more the flavors develop, and the bread will have larger air holes when baked.
Even after just 24 hours, you’ll notice an improvement in taste and texture. After 14 days, it’ll taste very similar to sourdough bread.

Shape Dough
When you’re ready for fresh bread, generously dust the dough with flour and cut off a portion. It’ll be very sticky and loose in texture. Wet your hands for easy handling.
Shape it gently by stretching the dough and tucking the edges under to create a smooth surface. (Like you’re wrapping it around imaginary baseball in the middle of the dough).
Let the shaped dough rest on a piece of parchment paper placed inside a large bowl or pie plate (this helps it rise upwards instead of flattening out) for about 40 minutes.
The parchment paper will make it easy to transfer the dough into the hot Dutch oven without deflating it.
Bake Bread
Baking the bread in a Dutch oven is one of the best ways to achieve a perfectly crusty loaf with a tender interior. Here’s how to do it:
- Preheat the Dutch Oven: About 30 minutes before you plan to bake, place your Dutch oven (with the lid on) in the oven and preheat to 450°F (232°C).
Preheating the Dutch oven is crucial because it creates a steamy environment that helps the bread develop a crisp, golden crust while keeping the inside soft and airy. - Transfer the Dough to the Dutch Oven: Once the dough has rested, carefully remove the preheated Dutch oven from the oven with oven mitts.
Using the parchment paper, lift the dough and place it into the hot Dutch oven. Be cautious, as the Dutch oven will be extremely hot.
Dust the top of the dough with flour then slash a few times with a serrated knife before placing the lid on (with oven mitts!). This allows the bread to expand evenly during baking. - Bake Covered: Place the lid back on the Dutch oven and return it to the oven. Bake for 30 minutes with the lid on. The closed environment traps steam, which is key to developing that beautiful, crackly crust.
- Bake Uncovered: After 30 minutes, remove the lid and continue baking for an additional 10-15 minutes.
This step allows the crust to turn a deep, golden brown and become perfectly crisp. - Cool the Bread: Once the bread is done baking, carefully remove it from the Dutch oven using the parchment paper. Let it cool completely on a wire rack before slicing. This cooling period is essential for setting the crumb and ensuring the bread slices beautifully.
Baking in a Dutch oven is a fantastic way to achieve bakery-quality bread at home with minimal effort. The heavy pot distributes heat evenly, while the steam created inside helps the bread rise and develop a gorgeous crust.
No Knead Bread Recipe Without a Dutch Oven
To make no knead bread with no Dutch oven, you can simply bake the dough on a preheated a cast iron skillet, pizza stone or baking sheet. Skip the covering step and bake it uncovered for the whole time.
How to Serve It
This Dutch Oven Bread (like most homemade bread recipes) is heavenly served warm with butter or olive oil and is perfect for pairing with a warm bowl of soup or hearty stews.
Here are some of my favorite soup recipes:
- Life-changing Tomato Soup recipe
- Orzo Soup
- Ground turkey soup
- Zucchini and Potato Soup
- Ham and Lentil Soup
- Old Fashioned Vegetable Beef Soup recipe
For added flavor, try serving it with garlic butter sauce for dunking.
It makes the best-ever toast or meatloaf sandwich!
Best Way to Store Bread
Proper storage will help keep your Dutch oven bread fresh and delicious for as long as possible. Here are some tips:
- Room temperature storage: Store your bread in a paper bag, airtight container or bread box at room temperature. This keeps the crust crisp while allowing the bread to breathe, preventing it from becoming soggy.
- Avoid the fridge: Never store bread in the refrigerator. The cold temperatures cause bread to stale much faster by speeding up the process of starch retrogradation, which makes the bread dry and tough.
- Freezing for long-term storage: If you won’t finish the bread within a couple of days, freeze it. Slice it first, then wrap it tightly in plastic or place it in a freezer bag. This way, you can thaw individual slices as needed without compromising freshness.
- Reheating frozen bread: To refresh frozen bread, warm it in the oven at 350°F for about 10-15 minutes. This will help restore some of the crust’s crispiness and the bread’s soft interior.
Final Tips & Tricks:
- No whole wheat flour? No problem. Just swap in more all-purpose flour.
- Your dough keeps well in the fridge for up to 14 days. The longer it sits, the more complex the flavor becomes.
- Always let your bread cool completely on a wire rack before slicing. This ensures the crumb sets perfectly.
- Store leftover bread in a paper bag at room temperature for up to 2 days. For longer storage, freeze it—just avoid refrigerating as it causes the bread to stale faster.

No Knead Dutch Oven Bread Recipe
Video
Ingredients
- 6 ⅓ cups all purpose flour
- ½ cup whole wheat flour
- 1 tbsp yeast
- 1 tbsp kosher salt
- 3 cups warm water
Instructions
- In a large bowl, combine all-purpose flour, whole wheat flour, yeast, and kosher salt. Stir in warm water until fully mixed, forming a sticky dough. Cover the bowl loosely and let the dough rise in a warm place for 2 hours. If not baking immediately, cover and refrigerate the dough.
- When ready to bake, line a pie plate (or medium bowl) with parchment paper. This will help the dough hold its shape while it rises. Dust the dough surface with flour and cut off a piece (about 1/3 of the dough) with a serrated knife or kitchen scissors to make 1 loaf of bread. *The recipe makes 3 loaves. You can refrigerate remaining dough for up to 2 weeks and bake as desired.It's a very sticky dough, so wet your hands to prevent it sticking to them. Shape the dough by stretching the surface and tucking it underneath to create a smooth top. Place the shaped dough in the parchment paper-lined dish. Let it rest in a warm place for 60-90 minutes.
- In the final 30 minutes before baking, preheat the oven to 450°F with a Dutch oven inside. Once preheated, carefully transfer the dough, along with the parchment paper, into the hot Dutch oven. Dust the top of the dough with flour then slash a few times with a serrated knife before placing the lid on (with oven mitts!). This allows the bread to expand evenly during baking.Bake with lid on for 30 minutes. Remove the lid and bake for an additional 10-20 minutes, until the crust is well-browned and the bread reaches at least 190ºF internal temperature (or sounds hollow when tapped).
Notes
Nutrition
Nutrition information is automatically calculated, so should only be used as an approximation.


Tried your recipe and it came out great. The only problem is that now everyone wants me to make them a loaf!
Thank you!
Thoroughly enjoyed making this bread, can’t wait to taste 🙂
Looks good will give it a try thanks
2 questions. 1. Can this be made with part whole wheat (50%). 2. Will this work with active sourdough starter instead of yeast, plus an adjustment to the water?
It worked with part counrty grain so whole wheat should be the same really 🙂
Let me know if you try with sourdough starter 😀
If possible and you have a bravo Italian restaurant and know how great their bread sticks are would it be possible for you to recreate it. I am looking for it but it never seems to be the right copycat recipe. I can’t wait to make this bread. Is there anyway to give directions to cut this recipe in half I am one person in the household and cannot eat all that bread in time. Thank You for the beautiful recipes.
Is it possible to use fresh yeast?
Hi Avril! Yes, you can absolutely use fresh (cake) yeast. For 1 tablespoon of instant yeast in this recipe, use about 25-30g (a bit under an ounce) of fresh yeast. Crumble it into the warm water and let it dissolve for a few minutes before mixing into the flour. Happy baking! 🙂
I have tried several no-knead bread recipes, and one stands out as the best by far. The dough is easy to handle, especially with greased hands, and it is super handy to have the flexibility to keep it in the refrigerator until you need to use it. I have baked the dough with one-day, five-day and ten-day refrigerator fermentation. All were very good, although I liked the five-day best. It made a very “holey” bread with a lovely texture and a nice crisp crust. Thank you for sharing your recipe. I love it!
Love this recipe, it makes amazing bread. Thank you!